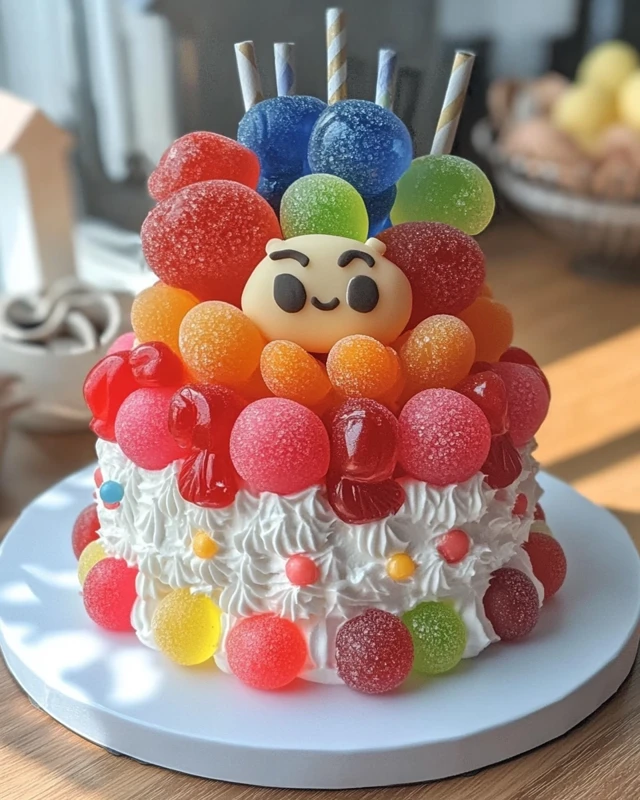
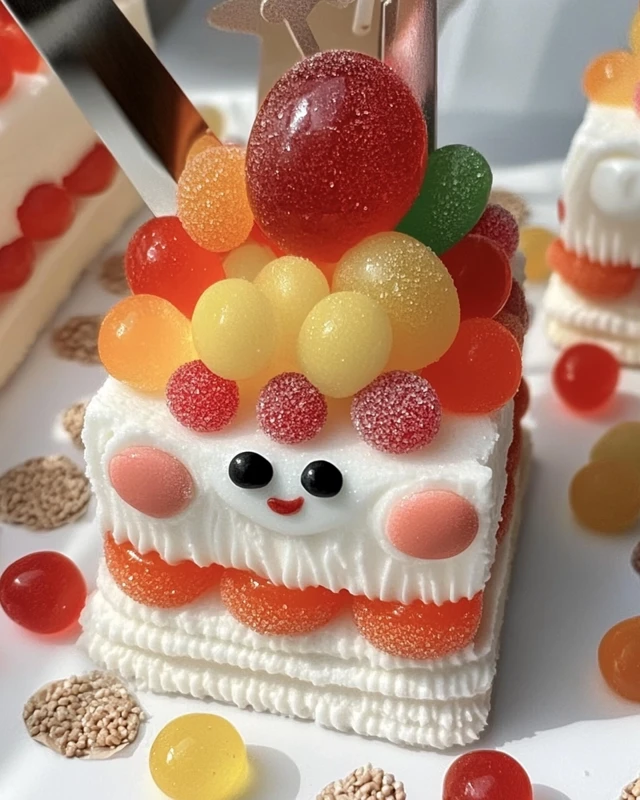
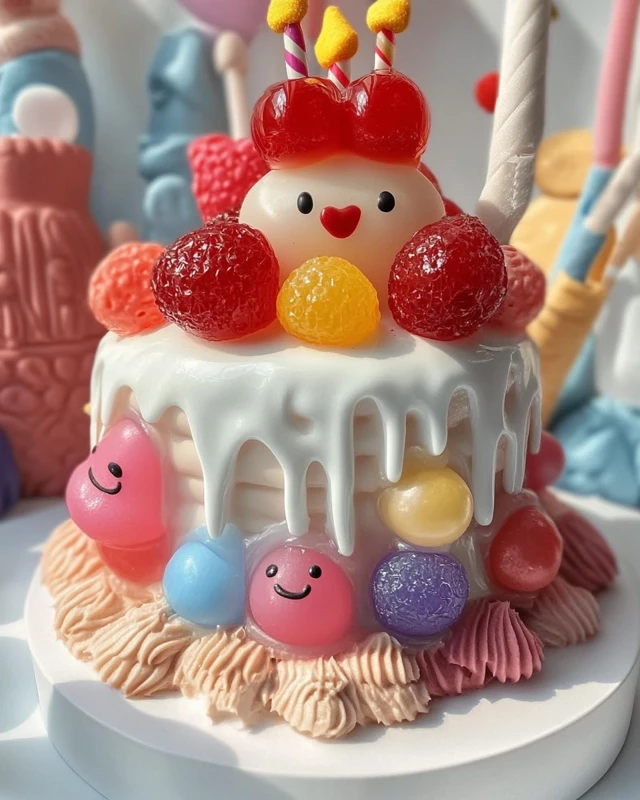
The Jellycat birthday cake is a delightful and whimsical dessert that combines the charm of the beloved Jellycat plush toys with the sweetness of a classic American vanilla cake recipe. Inspired by the Jellycat Amuseable Birthday Cake plushie, this recipe guides you through creating a cake that’s as adorable as it is delicious. It’s also a perfect entry point if you’re searching for a fun fondant cake tutorial or experimenting with white chocolate chip cake twists.
Jellycat Cake Recipe: Ingredients
To create this charming cake, you’ll need the following ingredients:
- 2½ cups all-purpose flour
- 1 tbsp baking powder
- ½ tsp salt
- 1 cup unsalted butter (softened)
- 1¾ cups granulated sugar
- 4 large eggs
- 1 tbsp pure vanilla extract (for that classic vanilla cake recette)
- 1 cup whole milk
- Pink and white fondant
- Edible black pearls (for eyes)
- Chocolate chips (optional)
- Food coloring (soft pastels like pink or baby blue)

How to Make a Jellycat Cake
Step 1: Prepare the Cake Layers
Preheat your oven to 350°F (175°C). Grease and flour two 9-inch round cake pans.
In a bowl, whisk together the flour, baking powder, and salt.
In a large bowl, cream the softened butter and granulated sugar until fluffy.
Add the eggs one at a time, mixing well after each addition, then stir in the vanilla extract.
Alternately add the dry ingredients and milk to the batter, beginning and ending with the dry ingredients.
Divide the batter evenly between the prepared pans and bake for 25–30 minutes, or until a toothpick inserted into the center comes out clean.
Allow the cakes to cool completely.
Step 2: Shape the Jellycat Form
Use a small round cake pan to bake an extra layer for the face.
Trim and sculpt the cooled cakes into a bunny shape, creating the body, face, and ears (you can cut the ears from cake scraps or cupcakes).
Step 3: Decorate Your Jellycat Cake
Apply a crumb coat of buttercream frosting over the entire cake to seal in the crumbs.
Roll out the fondant and cover the cake, smoothing it as you go. This is a great opportunity to learn how to use fondant properly and confidently.
Add fondant details such as ears, soft cheeks, and a tiny nose. Use edible pearls for the eyes.

Kids Birthday Cake Tips & Fun Jellycat Cake Ideas
Creating themed cakes can be both fun and rewarding. Here are some tips to make your Jellycat birthday cake extra special:
- Make it the night before: This allows the fondant to set and reduces stress on the day of the party.
- Choose soft colors: Stick with Jellycat’s signature pastel shades for authenticity.
- Allergies? Use dairy-free butter and plant-based milk if needed.
Fun Jellycat Cake Ideas:
- Create a family of cakes: Make a baby bunny and a mommy bunny using cupcake sizes!
- Flavor twist: Try strawberry cake layers or add white chocolate chips to the batter for extra fun.
- Add accessories: Tiny fondant bows, floral crowns, or birthday hats make adorable extras.

FAQs About Jellycat Birthday Cake
Q: Can I make this Jellycat birthday cake in advance?
A: Yes! Bake and assemble the cake a day ahead. Just refrigerate it and let it come to room temperature before serving.
Q: What if I don’t have fondant?
A: You can use colored buttercream instead. Use piping tips to create textures like ears and fur.
Q: How do I store leftovers?
A: Wrap slices in cling film and refrigerate for up to 3 days, or freeze for up to 1 month.
📣 Share Your Jellycat Cake Creations!
Did you make this adorable Jellycat birthday cake? I’d love to see your take! Share a photo on Instagram and tag @easyglobalrecipes or leave a comment below. Let’s inspire each other with new cute cake ideas for every little celebration!
🔗 You Might Also Like:
- 10 Fun Birthday Cake Ideas for Kids
- How to Use Fondant Like a Pro
- American Buttercream vs Swiss Meringue
- classic American vanilla cake recipe
Explore More Recipes by Category:
Cakes & Baked Treats:
- Pumpkin Banana Loaf – A moist and flavorful banana cake with a hint of pumpkin spice.
- Earl Grey Cookies – A sophisticated tea-flavored cookie perfect for a sweet treat.
- Vegan Peanut Butter Blossoms – A soft and nutty cookie, great for celebrations.
Desserts & Sweet Treats:
- Gelatin Dessert – A light and jiggly dessert, perfect for parties and kids.
- Homemade Vanilla Custard – A creamy, smooth custard that pairs well with cakes and fruits.
- Overnight Chia Pudding Parfait – A layered, healthy pudding with a creamy texture.
Fruit-Based & Light Desserts:
- Mango Tapioca – A tropical, creamy dessert with mango and tapioca pearls.
- Tropical Coconut Mango Overnight Oats – A refreshing and fruity overnight treat.
- Orange Mango Smoothie – A citrusy, fresh option that complements light and fluffy cakes.

