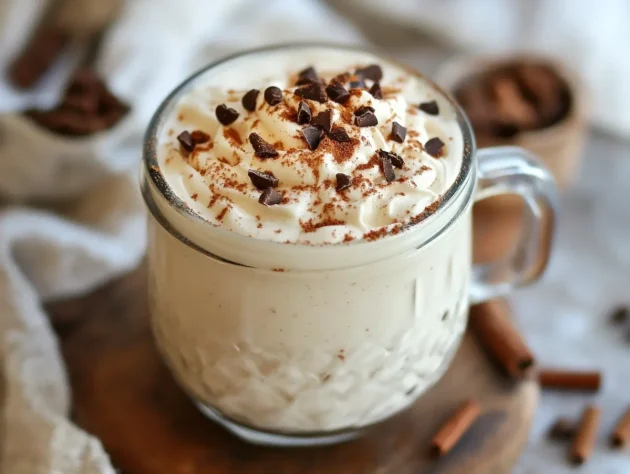
Ever wish you could make homemade ice cream that tastes just as good as the store-bought kind? Well, the Ninja Creami Recipes makes that dream a reality! This nifty kitchen gadget lets you whip up ice cream, sorbet, gelato, and even protein-packed frozen treats—all in minutes. No more waiting hours for your dessert to churn! Whether you’re craving classic vanilla or a wild flavor experiment, the Ninja Creami has got your back. Let’s dive into everything you need to know!
What Is the Ninja Creami?
Overview of the Ninja Creami
The Ninja Creami is a compact, high-powered ice cream maker that transforms frozen mixtures into creamy, dreamy desserts. Unlike traditional ice cream machines, it doesn’t churn—it shaves and blends frozen ingredients into a silky texture.
How It Works
It’s super simple: You mix your ingredients, freeze them overnight, then pop them into the Ninja Creami. With the push of a button, the machine’s spinning blade turns your frozen base into a creamy treat in just a few minutes.
Benefits of Using the Ninja Creami
- Fast and Easy: No churning, no waiting—just blend and enjoy.
- Customizable: You control the ingredients, so you can make dairy-free, keto, or high-protein options.
- Less Sugar, More Flavor: No preservatives or additives, just pure deliciousness.

Ingredients Needed for Ninja Creami Recipes
Basic Ingredients for Ice Cream
- Milk or heavy cream
- Sugar or sweetener
- Vanilla extract (or other flavoring)
- Optional: Cocoa powder, fruit puree, or mix-ins
Dairy-Free & Vegan Alternatives
- Almond, oat, or coconut milk
- Maple syrup or agave as a sweetener
- Cashew butter for extra creaminess
Flavor Enhancers and Mix-Ins
- Chocolate chips
- Crushed cookies
- Fresh fruit chunks
- Nut butters
Step-by-Step Cooking Guide with Ninja Creami Recipes
Step 1: Preparing Your Ingredients
Gather your ingredients and blend them together. Make sure everything is well-mixed before pouring it into the Ninja Creami pint container.
Step 2: Freezing the Base Mixture
Pour your mixture into the Ninja Creami container and freeze it for at least 24 hours. Patience is key!
Step 3: Blending with the Ninja Creami
Once frozen, place the container in the machine, select your desired setting (ice cream, gelato, sorbet, etc.), and press start. Let the Ninja Creami do its magic!
Step 4: Customizing with Mix-Ins
Want to add some crunch? Toss in chocolate chips or cookie bits, then run the mix-in cycle for an even blend.
Step 5: Serving Your Frozen Delight
Scoop your ice cream into a bowl or cone, add toppings, and enjoy your homemade frozen treat!

Garnished Final Dish
Presentation Tips
Serve in a fancy glass or a waffle cone to elevate your dessert experience.
Topping Ideas for Extra Flavor
- Whipped cream
- Chocolate drizzle
- Crushed nuts
- Sprinkles
Storage and Freezing Tips
Store leftovers in an airtight container in the freezer. If it gets too hard, re-spin it in the Ninja Creami for a fresh, creamy texture.
FAQs About the Ninja Creami Recipes
Is the Ninja Creami worth getting?
Absolutely! If you love making your own frozen treats and want full control over ingredients, it’s a fantastic investment.
What are the downsides of the Ninja Creami?
The main downside is that you have to freeze your mixture overnight, so it’s not instant. Also, the machine can be a bit noisy.
Is the Ninja Creami a glorified blender?
No! Unlike blenders, which just chop and mix, the Ninja Creami’s spinning blade creates a super smooth, ice-cream-like texture.
Does Costco carry the Ninja Creami?
Yes! You can often find the Ninja Creami at Costco, and sometimes they even have exclusive bundle deals.
Related Searches
- Ninja Creami recipes
- Ninja Creami Deluxe
- Ninja Creami Reddit
- Ninja Creami price
- Ninja Creami Costco
- Ninja Creami 11-in-1
- Ninja Creami recipes protein
- Ninja Creami Swirl
Explore more similare Ninja Creami Recipes
- Pumpkin Banana Loaf.
- Mediterranean Quinoa Power Bowl.
- Creamy Mushroom and Spinach Stuffed Chicken.
- Thai Coconut Curry Mussels.
- Sun-Dried Tomato and Feta Stuffed French Toast.
- Roasted Stuffed Bell Peppers.
- Effortless Veggie Omelette Roll.
Ninja Creami Recipes
A rich and creamy chocolate protein ice cream made in the Ninja Creami! This high-protein, low-sugar frozen dessert is perfect for a healthy treat after workouts or as a guilt-free indulgence.
- Prep Time: 5 minutes
- Cook Time: 24 hours
- Total Time: 24 hours 5 minutes
- Yield: 2 servings 1x
- Category: Dessert, Protein Trea
- Method: Blended, Frozen
- Cuisine: American
Ingredients
- 1 cup unsweetened almond milk (or dairy milk)
- 1 scoop chocolate protein powder
- 1 tablespoon cocoa powder
- 1 tablespoon sweetener (monk fruit, honey, or sugar)
- 1 teaspoon vanilla extract
- 1 pinch salt
Instructions
- In a mixing bowl, whisk together the almond milk, protein powder, cocoa powder, sweetener, vanilla extract, and salt until fully combined and smooth.
- Pour the mixture into a Ninja Creami pint container and place it in the freezer. Let it freeze for at least 24 hours.
- Once frozen, place the pint into the Ninja Creami machine, lock the lid, and select the “Lite Ice Cream” setting.
- After processing, check the texture. If it’s too firm, add 1-2 tablespoons of milk and re-spin.
- Serve immediately or store in the freezer for later!
Notes
- For extra creaminess, use half-and-half instead of almond milk.
- Add mix-ins like chocolate chips, crushed nuts, or peanut butter after the first spin using the “Mix-In” function.
- This recipe works great with vanilla, peanut butter, or coffee-flavored protein powder too!
Nutrition
- Serving Size: ½ pin
- Calories: 150 kcal
- Sugar: 3 g
- Sodium: 100 mg
- Fat: 4 g
- Saturated Fat: 1 g
- Unsaturated Fat: 2.5g
- Trans Fat: 0g
- Carbohydrates: 8 g
- Fiber: 2g
- Protein: 15 g
- Cholesterol: 10mg
Keywords: Ninja Creami, protein ice cream, chocolate ice cream, healthy dessert, high-protein recipes


