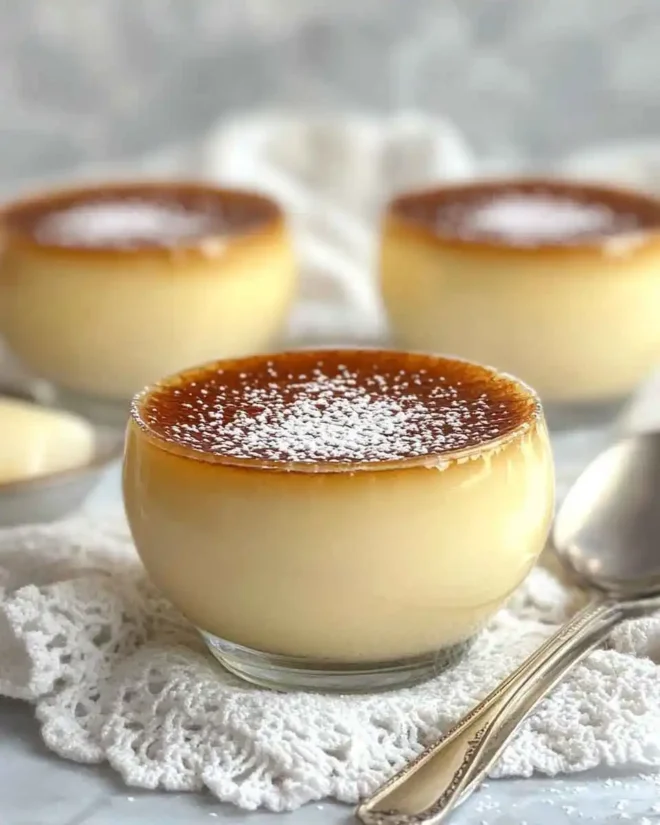
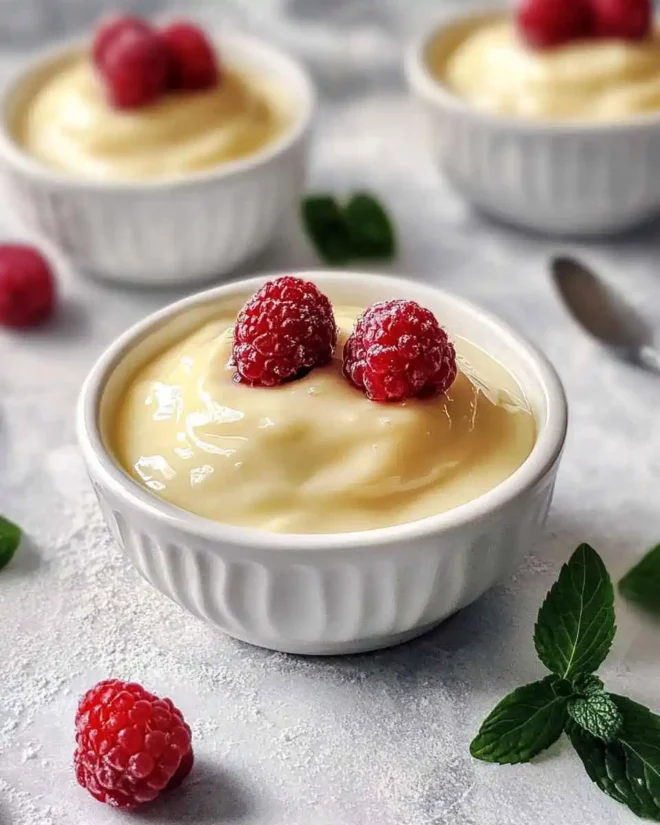
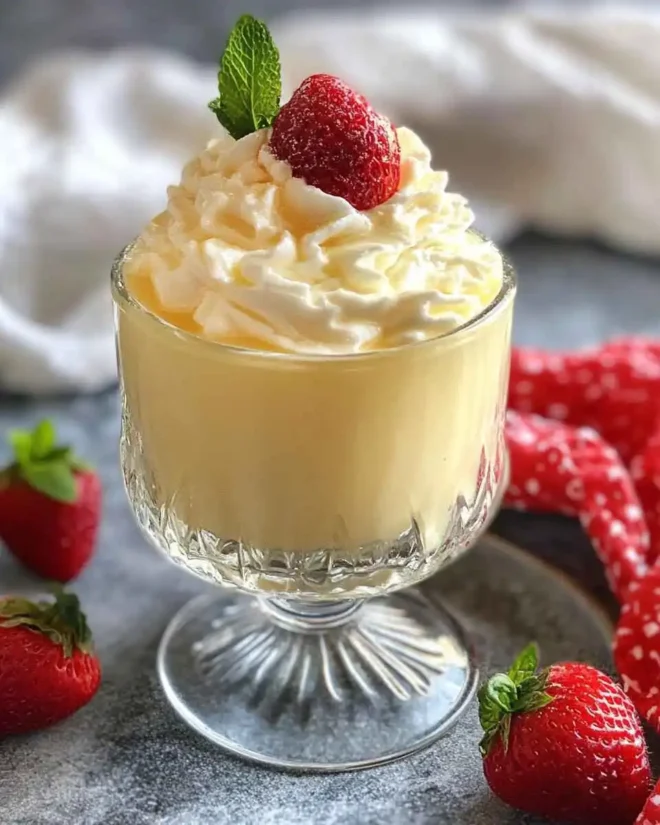
where’s something undeniably comforting about a bowl of rich, homemade vanilla custard. It’s silky, sweet, and infused with the warm aroma of vanilla—basically, a hug in dessert form! If you’ve never made custard from scratch, you’re in for a treat. This recipe is simple, requires basic pantry ingredients, and delivers a dessert so good you’ll never go back to store-bought versions.
Think of this vanilla custard as the classy cousin of pudding. While they share a similar creamy texture, custard is thickened with egg yolks rather than cornstarch alone, giving it that luxurious, melt-in-your-mouth consistency. Whether you’re serving it warm or chilled, plain or topped with berries, this is one dessert that never disappoints!
Why You’ll Love This Recipe “Homemade Vanilla Custard”
- Easy to Make: No fancy techniques—just simple cooking.
- Incredibly Creamy: The perfect balance of rich and smooth.
- Versatile: Serve it as-is, layer it in trifles, or drizzle it over cakes.
- 100% Homemade: No preservatives, just pure deliciousness!

Ingredients You’ll Need “Homemade Vanilla Custard”
Before we dive into the process, let’s gather everything we need. In the culinary world, this is called Mise en Place, meaning “everything in its place.” It helps ensure a smooth cooking experience (and prevents that dreaded moment when you realize you’re out of an essential ingredient halfway through!).
- ⅔ cup granulated sugar – Adds the perfect sweetness.
- ¼ cup cornstarch – Helps thicken the custard.
- ¼ teaspoon salt – Enhances flavor.
- 4 large egg yolks – The secret to a rich, creamy custard.
- 1 ½ cups whole milk – Full-fat milk gives the best texture.
- ½ cup light cream or milk – A little extra creaminess.
- 1 tablespoon unsalted butter – Adds a silky finish.
- 2 teaspoons vanilla extract – The star flavor!
Can You Use Whole Eggs Instead of Yolks?
Technically, yes—but I wouldn’t recommend it. Egg whites can make the custard slightly grainy, and unless you strain it, you’ll lose that perfectly smooth texture. Stick with yolks for the best results!

Want a More Intense Vanilla Flavor?
For the ultimate vanilla experience, swap vanilla extract for vanilla bean paste or scrape the seeds from a real vanilla pod. Not only will it add those beautiful black vanilla specks, but it will also take the flavor up a notch!
How to Make Homemade Vanilla Custard
Now that we have all our ingredients ready, it’s time to bring this luscious Homemade Vanilla Custard to life! Making custard might sound fancy, but trust me—it’s easier than you think. Just follow these simple steps, and you’ll have a creamy, delicious dessert in no time.
Step 1: Mix the Dry Ingredients
In a large bowl, whisk together the granulated sugar, cornstarch, and salt. This helps distribute the ingredients evenly and prevents lumps from forming in the custard.
Step 2: Add the Wet Ingredients
To the same bowl, add the egg yolks, whole milk, and light cream. Whisk everything together until fully combined. The mixture should look smooth and well-blended.
Step 3: Cook the Custard
Now comes the magic! Pour the mixture into a medium saucepan and place it over medium-low heat. The key here is patience—custard thickens slowly, so resist the urge to crank up the heat (unless you enjoy scrambled eggs in your dessert!).
Whisk constantly as the mixture heats up. This keeps the eggs from curdling and ensures a velvety-smooth texture. After about 10-12 minutes, the custard will start to thicken. You’ll know it’s ready when it coats the back of a spoon.
Step 4: Add the Final Touches
Once the custard is thickened, remove the saucepan from the heat. Stir in the butter and vanilla extract, mixing until the butter is fully melted and incorporated. This gives the custard its silky finish.
Step 5: Chill and Set
Transfer the custard to a bowl and cover it with plastic wrap, pressing the wrap directly onto the surface of the custard. This prevents an unappetizing skin from forming on top.
Refrigerate for at least 3-4 hours, or overnight if possible. The longer it chills, the better the texture!

How to Serve Vanilla Custard
Now for the best part—enjoying your Homemade Vanilla Custard! Here are some delicious serving ideas:
- Classic Style: Serve chilled with a dollop of homemade whipped cream.
- With Berries: Fresh strawberries, raspberries, or blueberries add a refreshing contrast.
- Over Cake: Pour custard over slices of pound cake or sponge cake for a dreamy dessert.
- Layered in a Trifle: Use it as a rich layer in a fruit trifle or parfait.
- Warm and Cozy: Enjoy it slightly warm with a sprinkle of cinnamon or nutmeg.
Storage Tips
If you have any leftovers (which is rare because it’s so delicious!), store the custard in an airtight container in the fridge for up to 3 days. Just give it a quick stir before serving to restore its creamy texture.
How to Make Homemade Vanilla Custard
Now that we have all our ingredients ready, it’s time to bring this luscious vanilla custard to life! Making custard might sound fancy, but trust me—it’s easier than you think. Just follow these simple steps, and you’ll have a creamy, delicious dessert in no time.
Step 1: Mix the Dry Ingredients
In a large bowl, whisk together the granulated sugar, cornstarch, and salt. This helps distribute the ingredients evenly and prevents lumps from forming in the custard.
Step 2: Add the Wet Ingredients
To the same bowl, add the egg yolks, whole milk, and light cream. Whisk everything together until fully combined. The mixture should look smooth and well-blended.
Step 3: Cook the Custard
Now comes the magic! Pour the mixture into a medium saucepan and place it over medium-low heat. The key here is patience—custard thickens slowly, so resist the urge to crank up the heat (unless you enjoy scrambled eggs in your dessert!).
Whisk constantly as the mixture heats up. This keeps the eggs from curdling and ensures a velvety-smooth texture. After about 10-12 minutes, the custard will start to thicken. You’ll know it’s ready when it coats the back of a spoon.
Step 4: Add the Final Touches
Once the custard is thickened, remove the saucepan from the heat. Stir in the butter and vanilla extract, mixing until the butter is fully melted and incorporated. This gives the custard its silky finish.
Step 5: Chill and Set
Transfer the custard to a bowl and cover it with plastic wrap, pressing the wrap directly onto the surface of the custard. This prevents an unappetizing skin from forming on top.
Refrigerate for at least 3-4 hours, or overnight if possible. The longer it chills, the better the texture!
How to Serve Homemade Vanilla Custard
Now for the best part—enjoying your Homemade Vanilla Custard! Here are some delicious serving ideas:
- Classic Style: Serve chilled with a dollop of homemade whipped cream.
- With Berries: Fresh strawberries, raspberries, or blueberries add a refreshing contrast.
- Over Cake: Pour custard over slices of pound cake or sponge cake for a dreamy dessert.
- Layered in a Trifle: Use it as a rich layer in a fruit trifle or parfait.
- Warm and Cozy: Enjoy it slightly warm with a sprinkle of cinnamon or nutmeg.
Storage Tips
If you have any leftovers (which is rare because it’s so delicious!), store the custard in an airtight container in the fridge for up to 3 days. Just give it a quick stir before serving to restore its creamy texture.
Frequently Asked Questions About Homemade Vanilla Custard
What are the 3 types of custard?
Custard comes in three main types: stirred custard (like this vanilla custard), baked custard (like flan or crème brûlée), and steamed custard (common in some Asian desserts). Each type varies in texture and preparation method.
What are the 4 components of custard?
Custard is made from four essential ingredients: milk or cream (provides the creamy base), eggs (thickens the mixture), sugar (adds sweetness), and flavoring (such as vanilla or nutmeg for extra taste).
Is crème brûlée a custard?
Yes! Crème brûlée is a type of baked custard made with cream, egg yolks, sugar, and vanilla. What makes it special is the caramelized sugar crust on top, which adds a delightful crunch.
How long does homemade custard last?
Homemade custard lasts about 2-3 days in the refrigerator when stored in an airtight container. Avoid freezing it, as the texture can become grainy.
What’s the difference between vanilla pudding and custard?
The main difference is in the thickening agent. Custard is thickened with egg yolks, while pudding is usually thickened with cornstarch. This gives custard a richer, silkier texture compared to pudding.
Final Thoughts
And there you have it—your very own homemade vanilla custard! Whether you’re making it for a fancy dinner party or just treating yourself, this dessert is guaranteed to impress. It’s rich, creamy, and packed with delicious vanilla flavor.
Give it a try, and let me know how it turns out! If you love custard, be sure to check out my Crème Brûlée and Spanish Flan recipes for even more creamy dessert goodness.
Did you make this recipe? Leave a comment below and rate the recipe—I’d love to hear from you! Don’t forget to share this with friends and family who love a good homemade dessert.
More similar breakfast recipe To Homemade Vanilla Custard
- Tropical Coconut Mango Overnight Oats – A creamy and fruity breakfast with a tropical twist.
- Crispy Waffles with Honey Drizzle – A sweet, crispy treat that pairs well with vanilla flavors.
- Banana Bread Baked Oats – A warm and soft oat-based breakfast with a custard-like texture.
- Overnight Chia Pudding Parfait – A creamy, pudding-like breakfast with a healthy twist.
- Golden Maple Oatmeal Bake – A warm, comforting dish with a slightly sweet and custard-like consistency.

